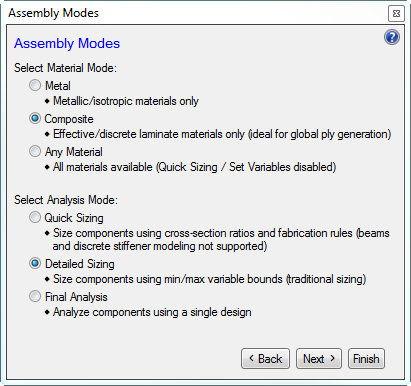
Select the material and analysis mode. See Material Mode, Analysis Mode.
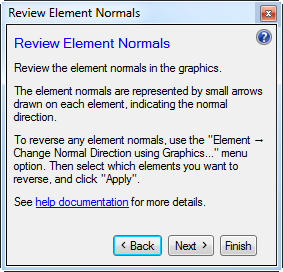
Review the shell and beam element normals. Verify that they are consistent with the HyperSizer convention. See Shell Orientation, Beam Orientation.
Click Next.
Review the shell and beam element material angles. Verify that they are consistent with the HyperSizer convention. See Shell Orientation, Beam Orientation.
Click Next.
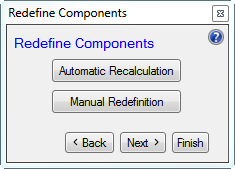
(Optional) Click Yes to review/change the (smeared) component definitions. Here the smeared component assigned to each element can be modified. New smeared components can be created. See Creating Smeared Panel Components - Automatic Refining.
Otherwise, click Next.
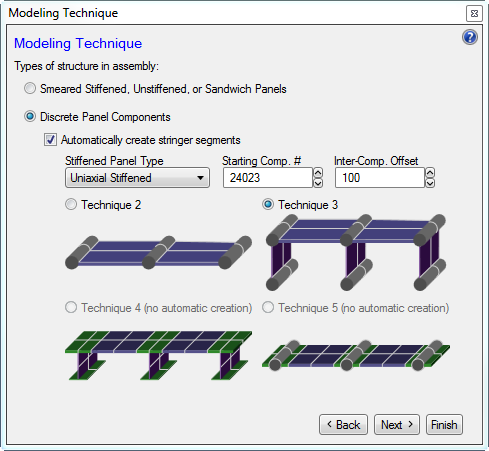
Select the modeling technique.
- Select the model technique radio button - Smeared... or Discrete....
-
If modeling discretely meshed panels, here you can automatically create the stringer segment components (composed of stringer segment components and skin segment components). See Creating Stringer Segments - Automatic.
- Click Next.
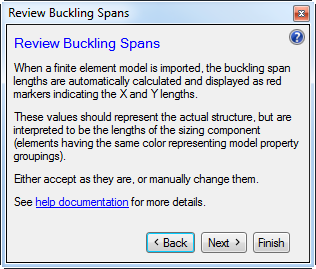
Review the buckling spans for the shell and beam components. The buckling spans are automatically computed, but some adjustment may be required. See Buckling Spans.
Click Finish.